Getting started with WebDriver’s Java bindings is easy -- if you know how to connect the pieces together. Once the pieces are in place, development is a snap.
In this article, we’ll show you how, plus write and run one simple test.
The Components You'll Need for Java
To run WebDriver tests in Java with Eclipse you’ll need:
Eclipse
A test framework - We’ll use JUnit; there are many you can use.
WebDriver’s Java Code Library
A browser-driver - Our examples will use chrome
A dependency manager - our example will be Maven
There are different ways to add dependencies in Eclipse with Java. Common dependency managers include Maven and Gradle. An older version of this article added the dependencies by hand.
How To Install Eclipse
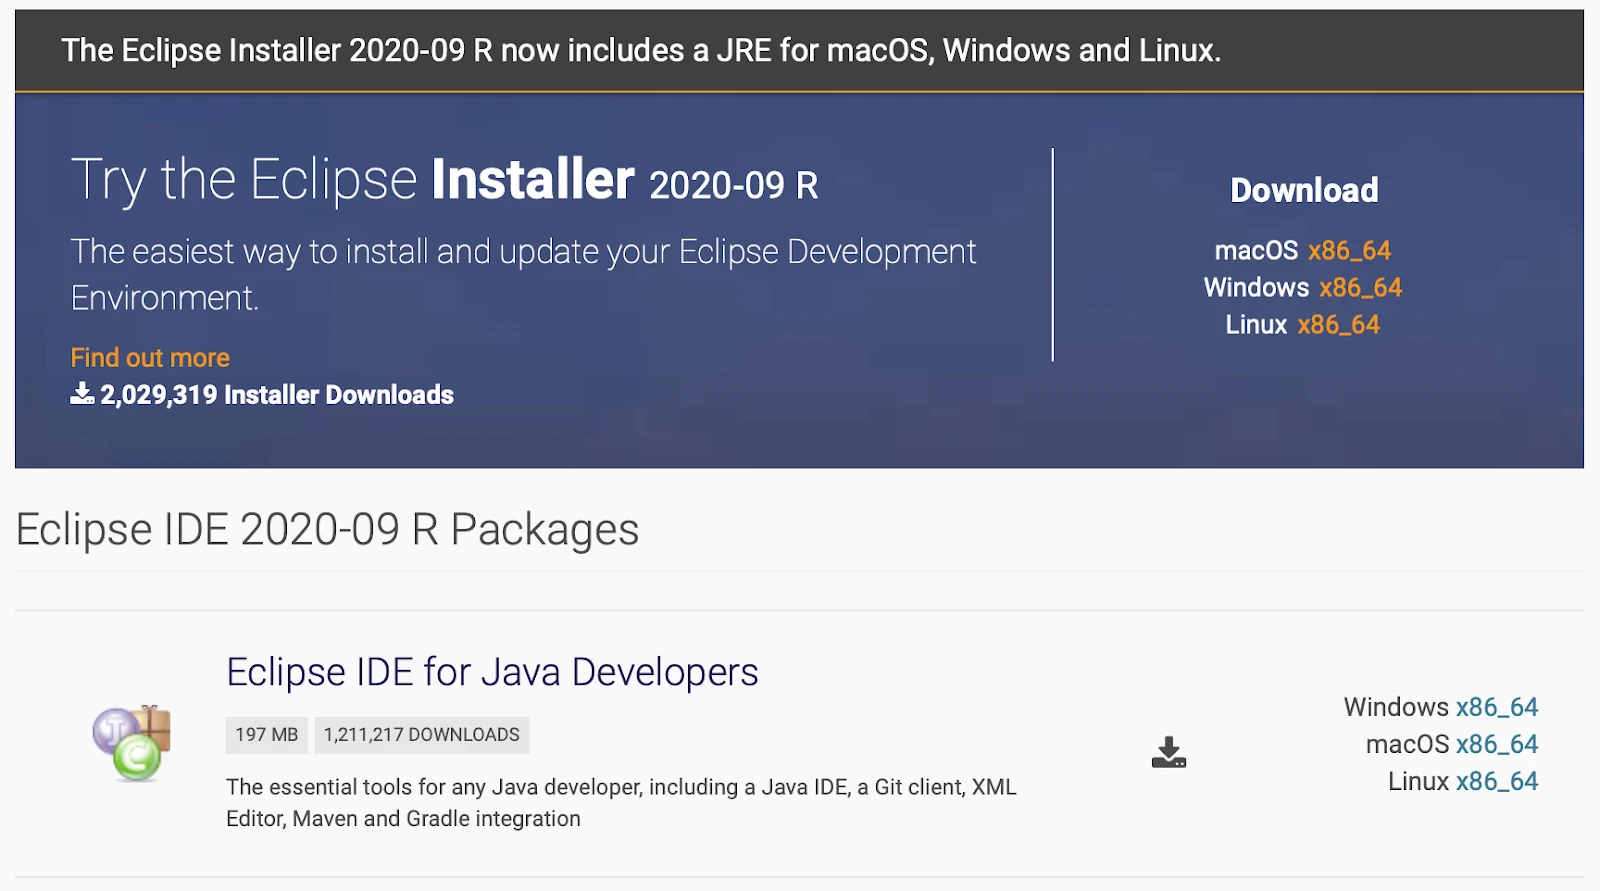
Eclipse is one of the most popular development environments for Java. It is an open-source project maintained by the Eclipse Foundation and has a large marketplace of add-ons, tools, and support. You can download the latest version of Eclipse for your operating system at http://www.Eclipse.org/downloads/Eclipse-packages/. In our example, we’ll select “Eclipse IDE for Java Developers.”
The installer saves to your local drive or your browser’s “downloads” directory. Download and run it.
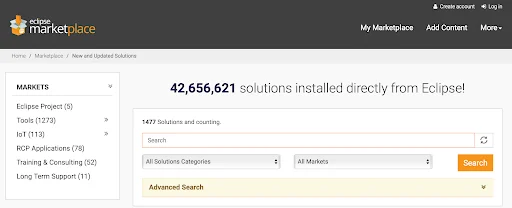
Once Eclipse is installed you’re free to customize it as you like. There are a wealth of themes and editor tweaks available both from the larger community and the Eclipse Marketplace (https://marketplace.Eclipse.org/).
Creating The Project
Eclipse works with the concepts of workspaces—folders and spaces where you work with your projects. In this example, I’m using an existing workspace where I have several different small example projects. Teams use different approaches for workspaces and project structures. Use whatever you like with your own small sample projects; however, make sure to follow your team’s pattern for real work. (Workspace and project structure is almost as hotly debated as tabs versus spaces. Be kind.)
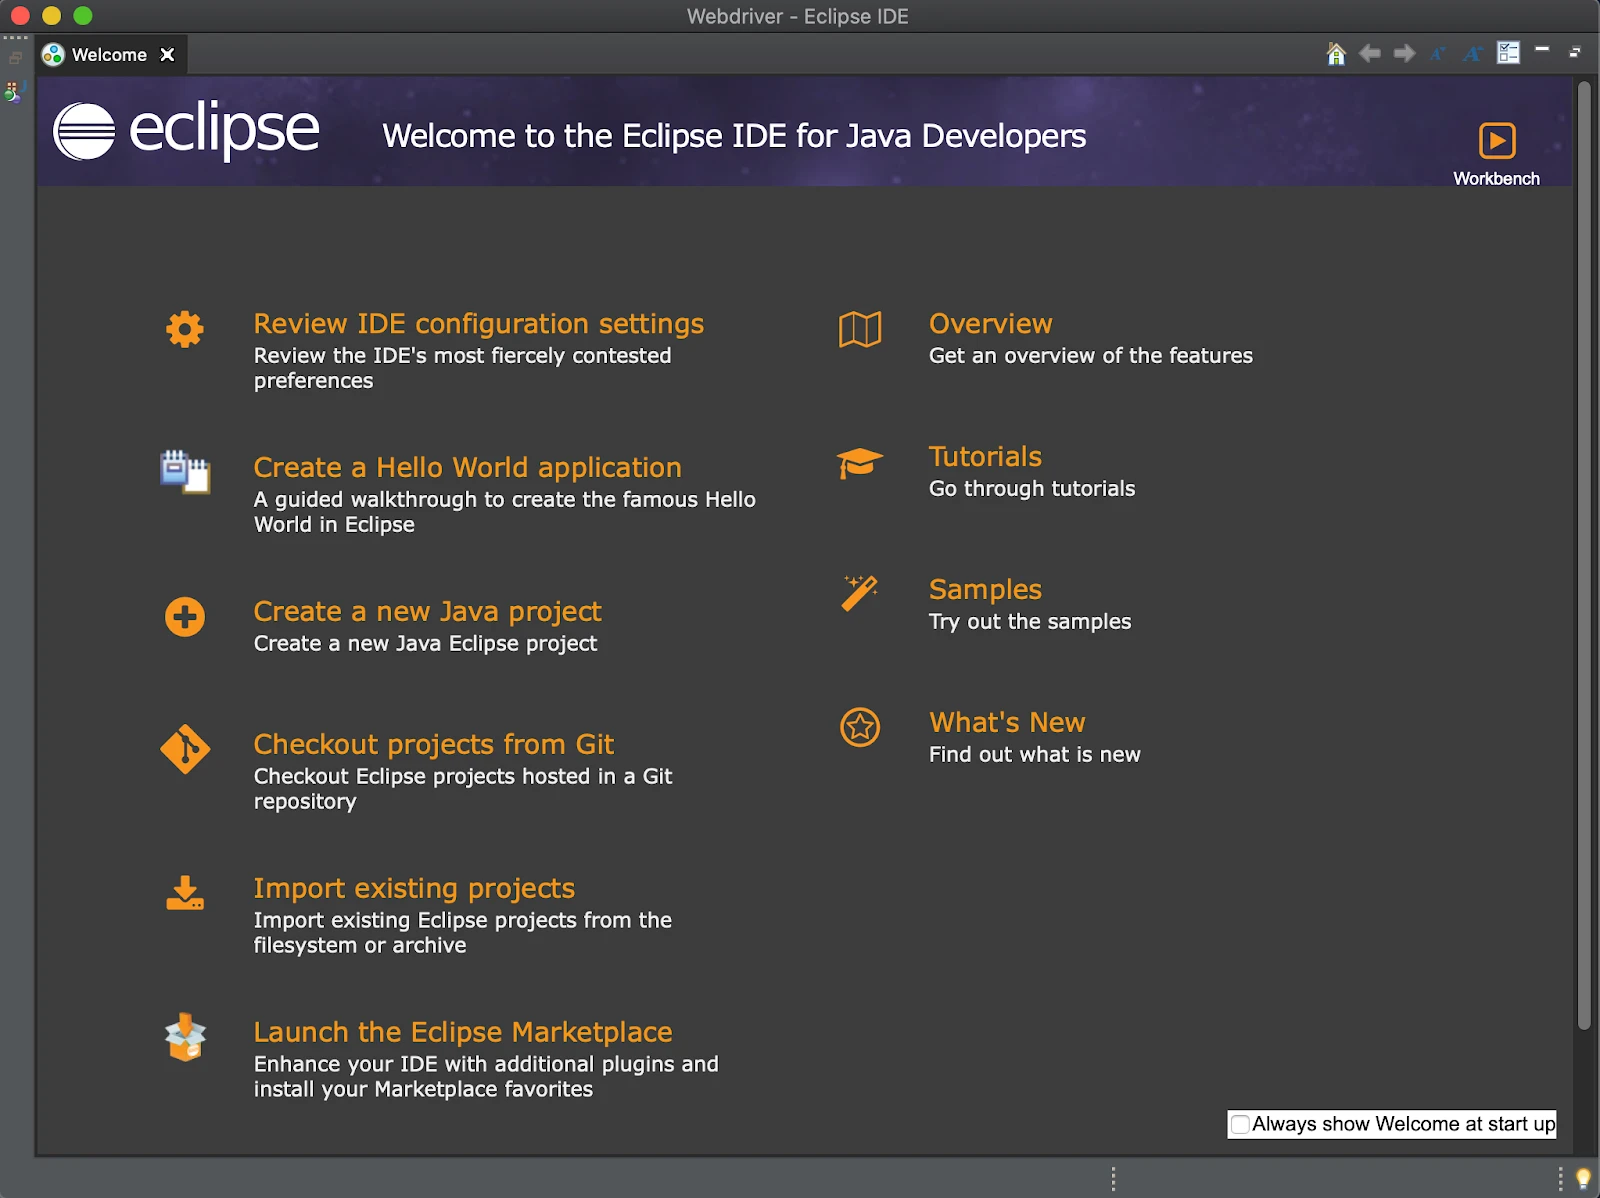
This article uses a simple Java Project created by clicking “Create a new Java project” from the opening screen.
Fill out the basic information on the New Java Project dialog - make sure the JRE environment version is 14 or later - then click Finish to proceed.
Add Maven - A Dependency Manager
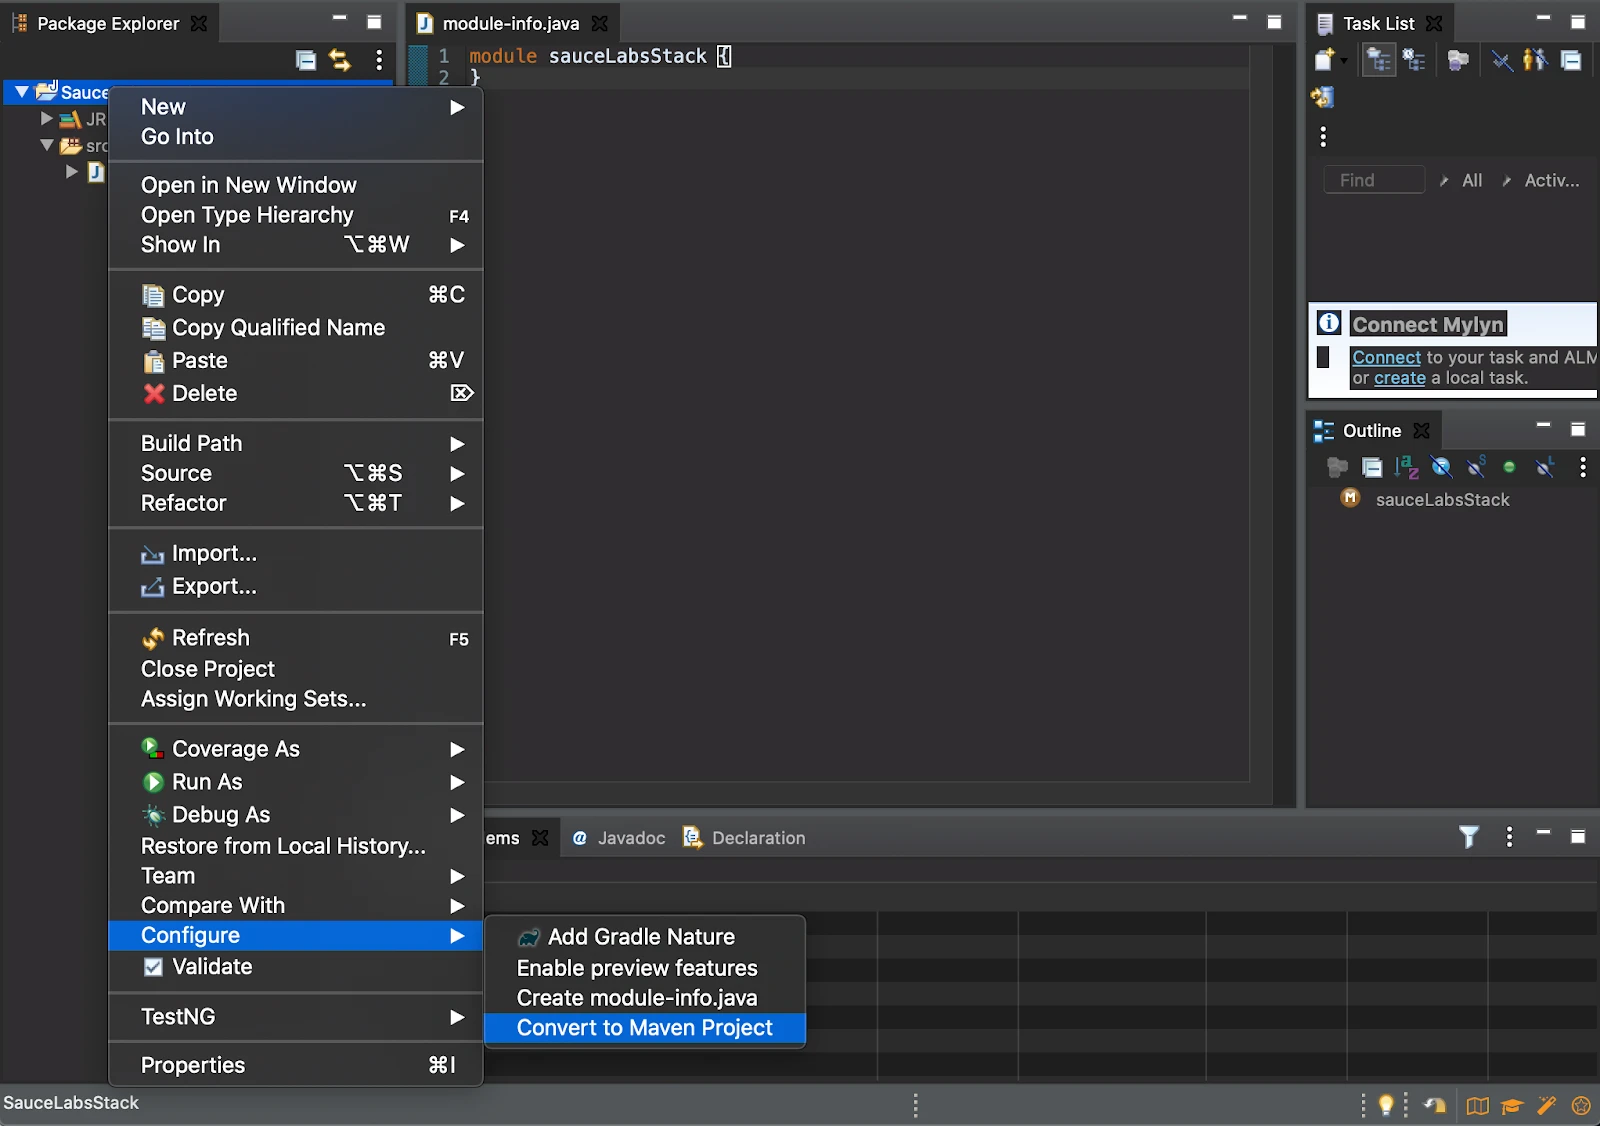
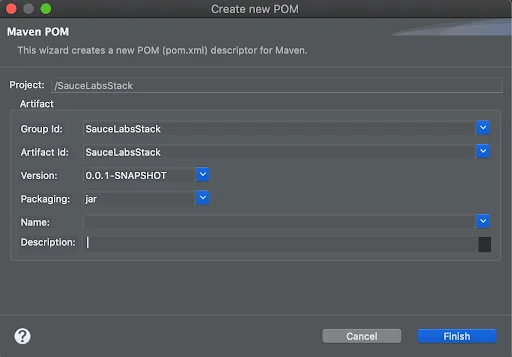
Various drivers depend on other libraries and, in some cases, those libraries depend on additional libraries. Instead of downloading and installing them by hand, you’ll use Maven, a dependency registration and management service. You’ll add one entry for ChromeDriver, another for JUnit(“Jupiter”), and be off to the races. So Right-click the project, select configure, and convert to become a maven project. Click Finish on the subsequent “Create new POM dialog” to create your pom.xml file.
Add Dependencies
In the bottom-left of the package explorer you will now see a pom.xml. We’ll add a reference to JUnit Jupiter and Webdriver into the POM, by adding a dependencies xml fragment, below </build> and before </project>. Here’s the snippet (the following represents an environment using version 5.7.0 of JUnit and Selenium 4):
   <dependencies>
   <dependency>
   <groupId>org.JUnit.jupiter</groupId>
   <artifactId>JUnit-jupiter-api</artifactId>
   <version>5.7.0</version>
   <scope>test</scope>
   </dependency>
   <dependency>
     <groupId>org.seleniumhq.selenium</groupId>
       <artifactId>selenium-java</artifactId>
       <version>4.0.0-alpha-7</version>
   </dependency>
 </dependencies>
Time for the WebDriver Components
Before we proceed, a quick review of WebDriver’s makeup is helpful. WebDriver consists of a number of different components, and it’s important you’re clear on what pieces you’ll need. The Selenium HQ page introducing WebDriver has great detail on how WebDriver works. You should read that; however, here’s an abbreviated version:
The Browser Driver
WebDriver’s lowest-level component is a browser driver which manipulates a browser directly through that browser’s automation interface. This is a program that the libraries will call. Browser vendors (Microsoft, Mozilla, Google, etc.) handle the details inside their own browser, which means the folks that make the browser are also handling the mechanics of automation for that specific browser. The names of the browser-drivers are ChromeDriver (for Chrome), Geckodriver (for Firefox), SafariDriver(for Safari), and InternetExplorer Driver and MS Edge Driver (IE and Edge respectively). Place them in a directory that is part of your environment PATH, so that no matter what working directory you are in, a command-line call to the programs will execute them.
For this tutorial, Install the ChromeDriver for your environment
Selenium Server
Selenium Server is a component that manages running WebDriver instances on remote machines. Selenium Server is also the central hub when working with Grid configurations. When working with Sauce Labs, Sauce can provide the entire grid; just have your tests tunnel out to connect.
For this tutorial, you’ll run the tests locally, so you do not need to run a server.
Adding WebDriver to Eclipse
As mentioned earlier, there are many ways to include WebDriver in your Eclipse projects.
We’ve already done this work by adding the WebDriver to the pom.xml file as a dependency (selenium-java)
Writing Your First Test
WebDriver doesn’t know how to do anything other than talk to the browser driver. As a result, you’ll need some sort of test framework to execute your tests, make assertions, and report test status. We’ll use JUnit because A) it’s very popular and B) it’s included in Eclipse’s default installation.
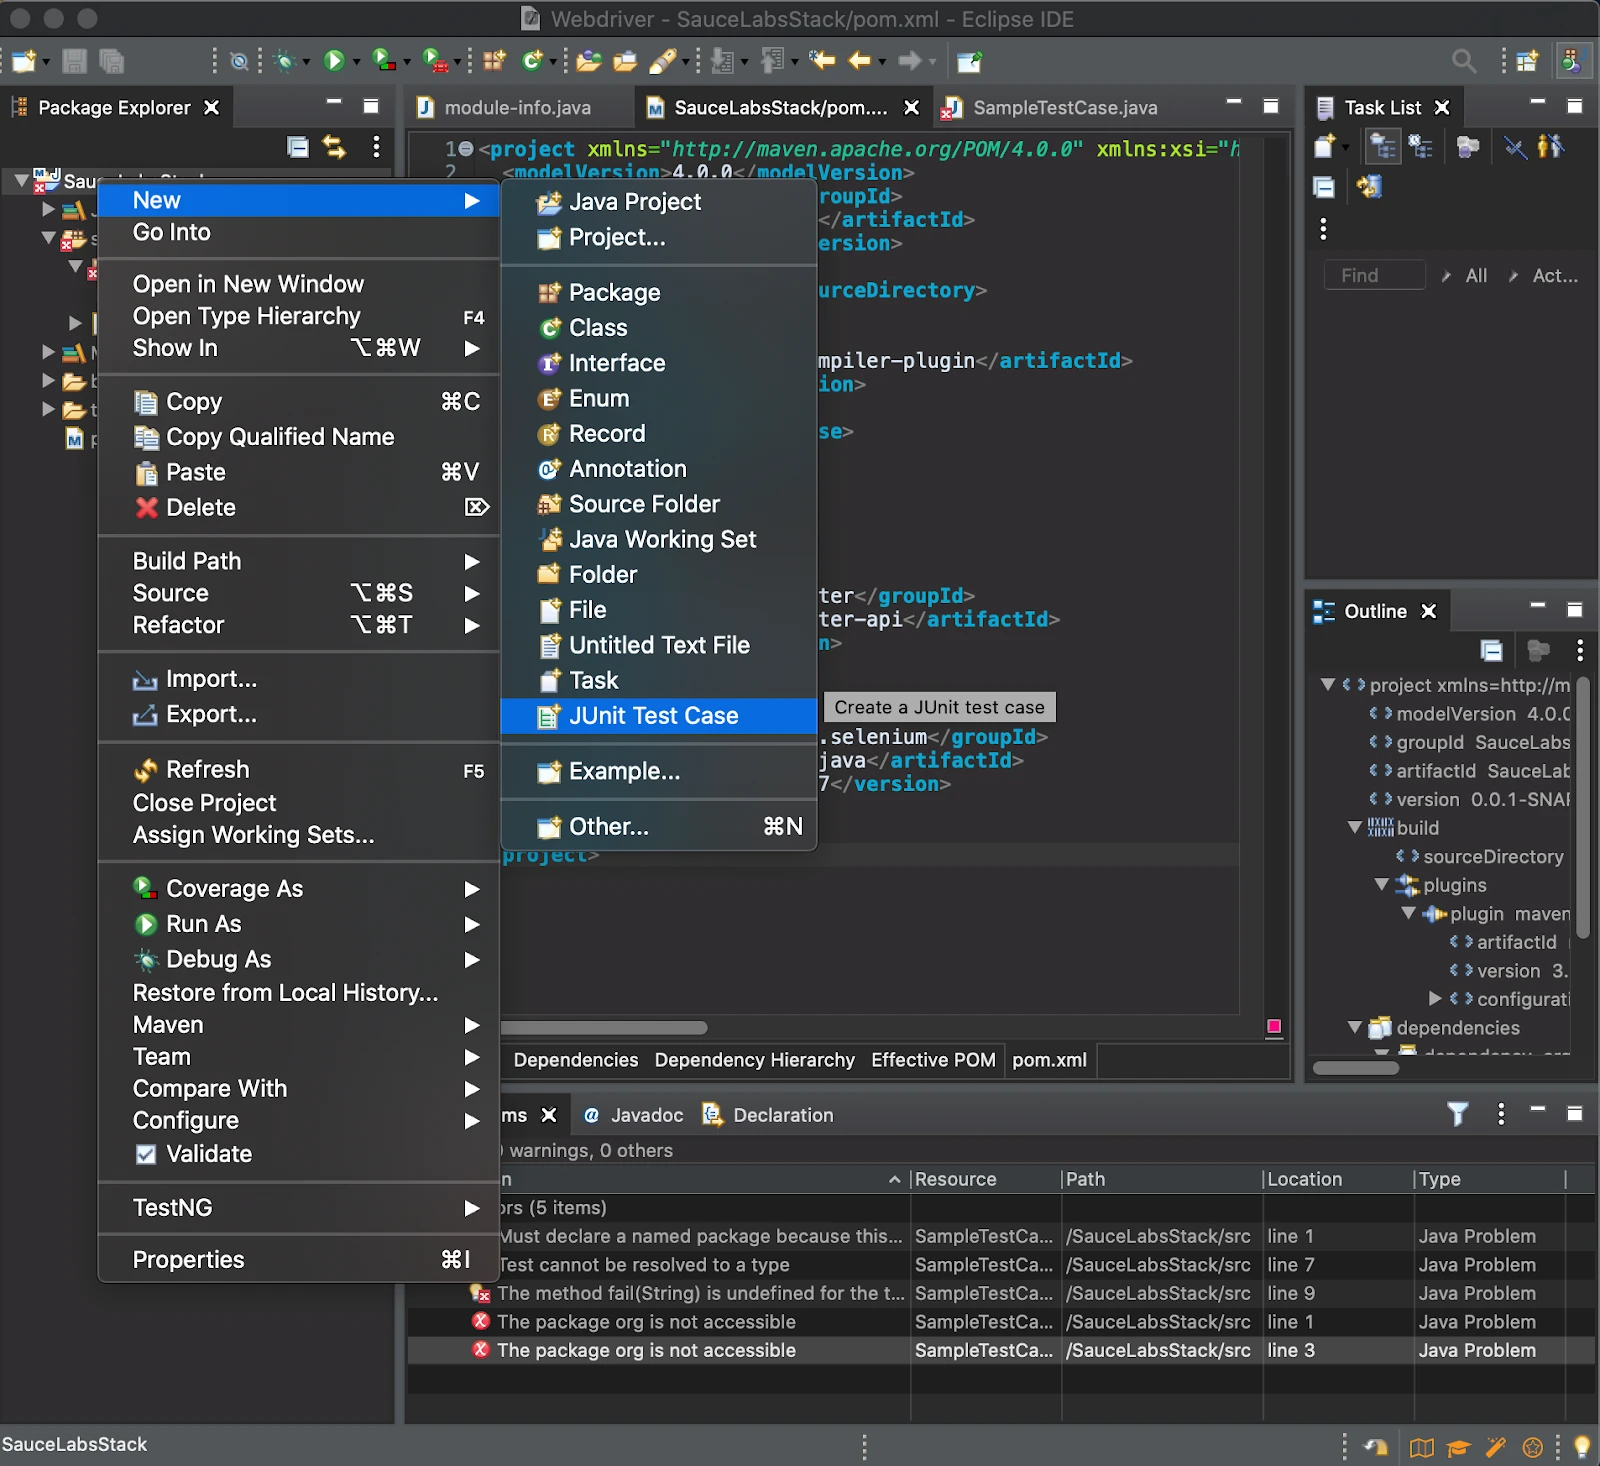
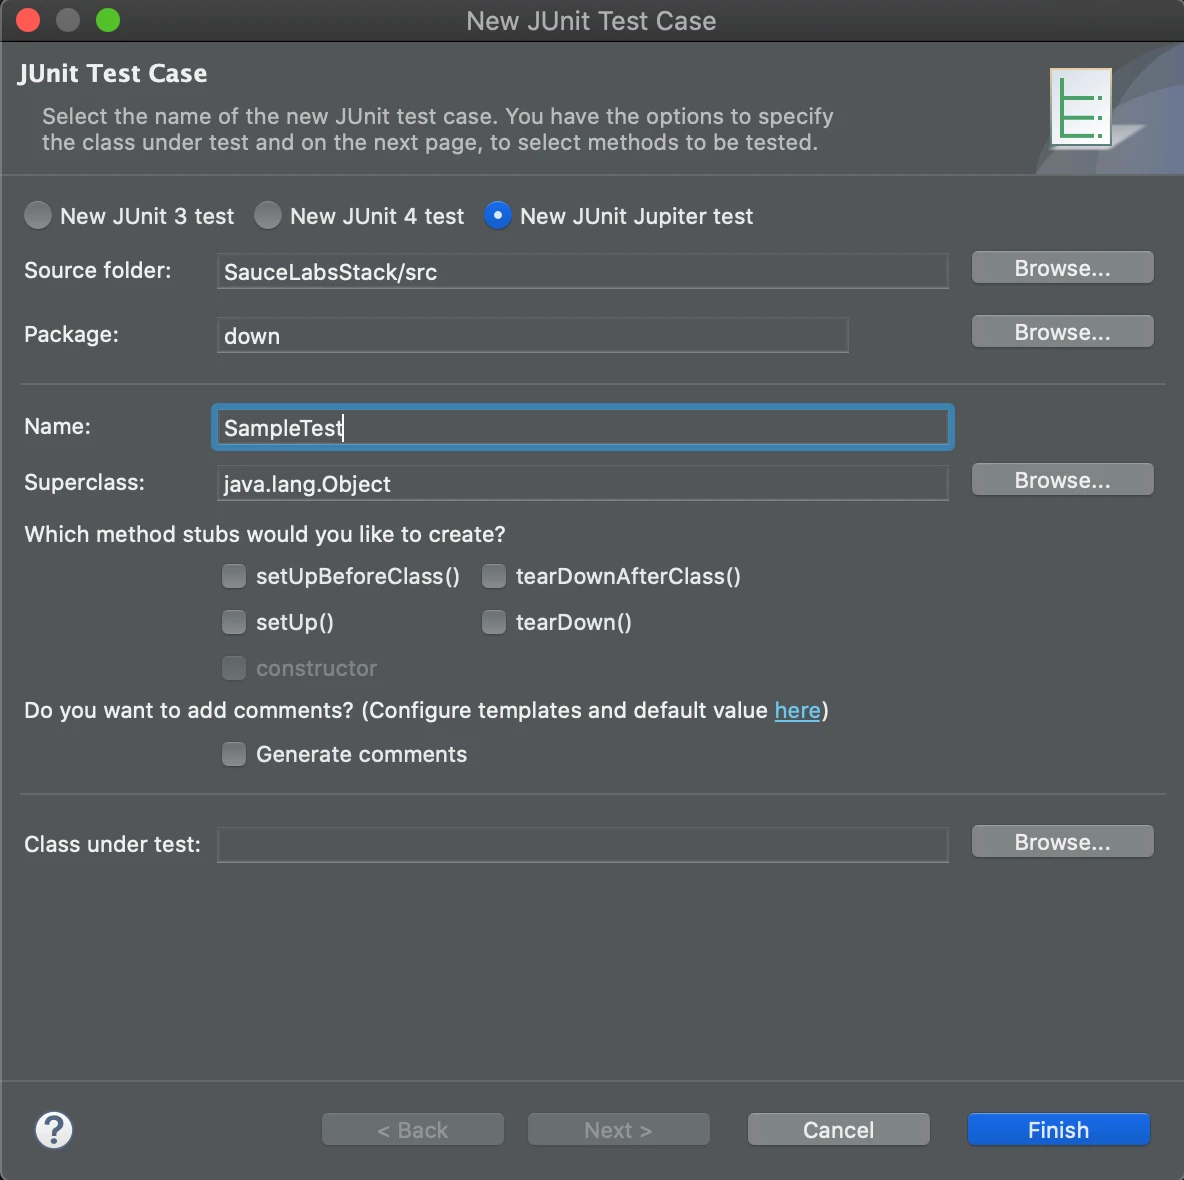
Add a test case to your Eclipse project via right-click => New => JUnit Test Case.
Give your test case a good name in the resulting dialog and click Finish to create the file. Note I’ve used the default namespace for this test case—and that Eclipse is rightfully complaining about it. Again, be kind. Follow your teams’ standard practices for project organization and naming. You may put files in the wrong directory, or get spelling wrong. Think of re-doing this effort a few times not as a waste but as good practice.
Add JUnit And Your First Test
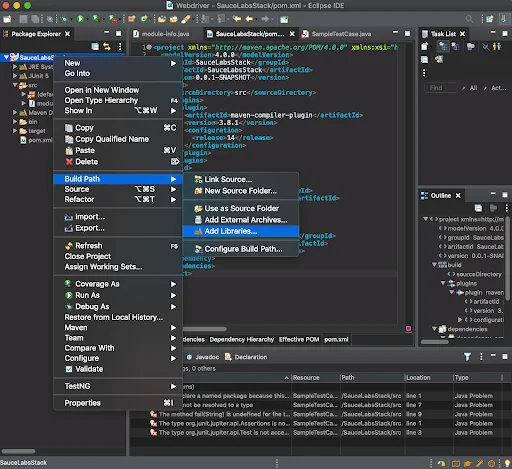
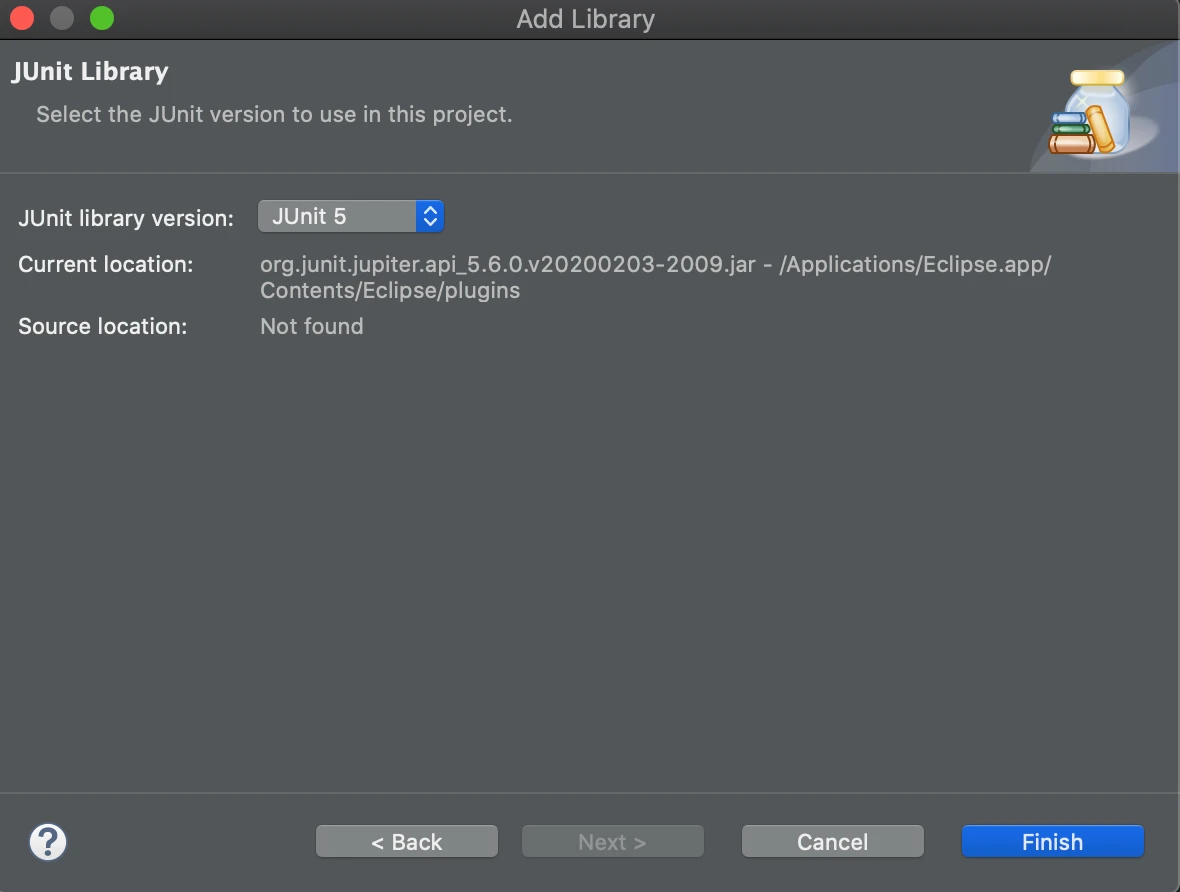
Right-click the project, Build Path, Add Libraries, add JUnit, and click Finish - select JUnit 5 from the library version in the subsequent dialog and click Finish.
Right-click the project, select New, then New JUnit Jupiter test. Make sure not to use the default package (create a new package if you need to), give it a good name, and click Finish. You’ll find your first test case set up and ready to author.
A Simple Test
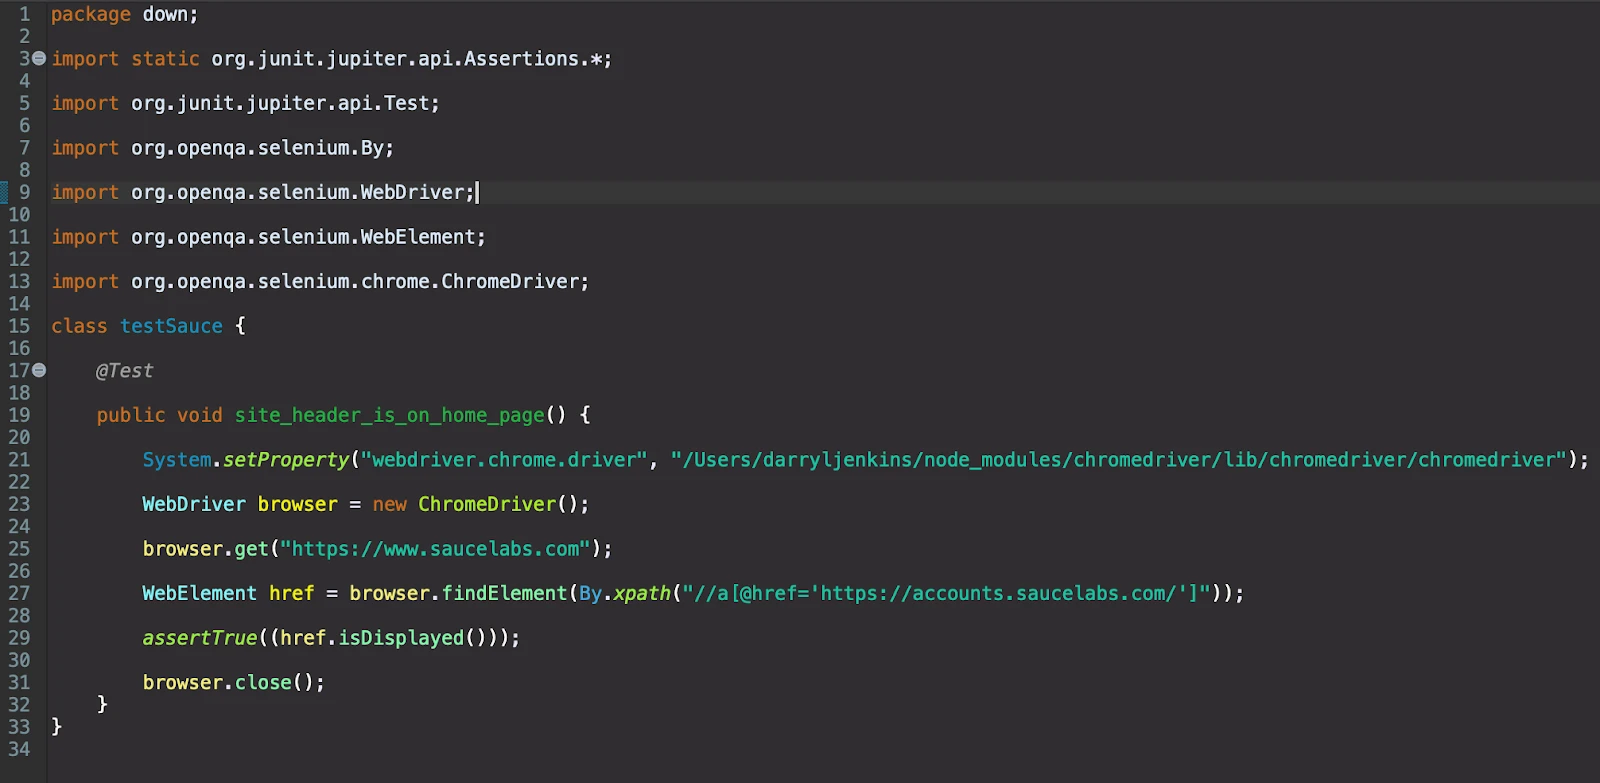
Below is a complete test case that starts a browser locally, executes a very simple test, then closes out the browser instance. The example is extremely simple and doesn’t follow normal practices like using Page Object Patterns. This is example code, not production code!
You’ll notice the test case needs to set the property to where the Chromedriver file is located; you will need to change this. In Windows, this will look something like “c:\somedirectory\chromedriver.exe”, for Linux and Mac shells, you don’t need the trailing .exe, you’ll point directly to the binary.
package org.seleniumhq.selenium.selenium_java;
import static org.JUnit.jupiter.api.Assertions.*;
import org.JUnit.jupiter.api.Test;
import org.openqa.selenium.By;
import org.openqa.selenium.WebDriver;
import org.openqa.selenium.WebElement;
import org.openqa.selenium.chrome.ChromeDriver;
class SauceLabsHomePageTest {
@Test
public void site_header_is_on_home_page() {
System.setProperty("webdriver.chrome.driver", "/where/you/put/chromedriver");
WebDriver browser = new ChromeDriver();
browser.get("https://www.saucelabs.com");
WebElement href = browser.findElement(By.xpath("//a[@href='https://accounts.saucelabs.com/']"));
assertTrue((href.isDisplayed()));
browser.close();
}
}
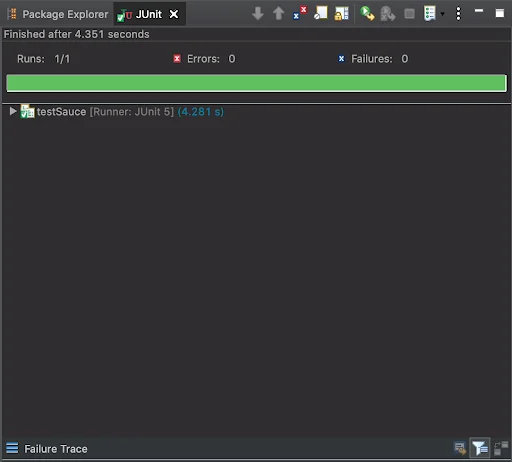
Run the test by right-clicking in the test body and selecting Run As => JUnit test.
Summing Up
In this post, you learned a bit about the various components that make up Selenium WebDriver. We also showed you how to install Eclipse, gather up the various WebDriver pieces necessary for Java tests in Eclipse, as well as an extremely simple test.
It may take a few attempts for you to follow the instructions. Don’t get frustrated. Become an expert in creating JUnit tests in Eclipse. If you need a reference, feel free to compare it with our project on GitHub.
